While mulling over my options of what I was going to do next, I noticed that the Fort Erie Public Library had a 3D printer so I occurred to me that I could make a repair adapter that I could epoxy onto the broken receptacle. This part would then mate up with the unbroken shoe still attached to the car.
While I'm reasonably proficient with 2D AutoCAD and took a 3D AutoCAD course at Niagara College several years ago, I don't have access to the College's software. Luckily, there are some free 3D design options available. One option is to use Autodesk's free online 3D software: Tinkercad. Another is to use FreeCAD. Having spent some with online tutorials for each and tried drawing some 3D designs, I ended up using FreeCAD. In either case, you need to send a wire-frame version of your design to the library, where they will print it for you on one their 3D printers.
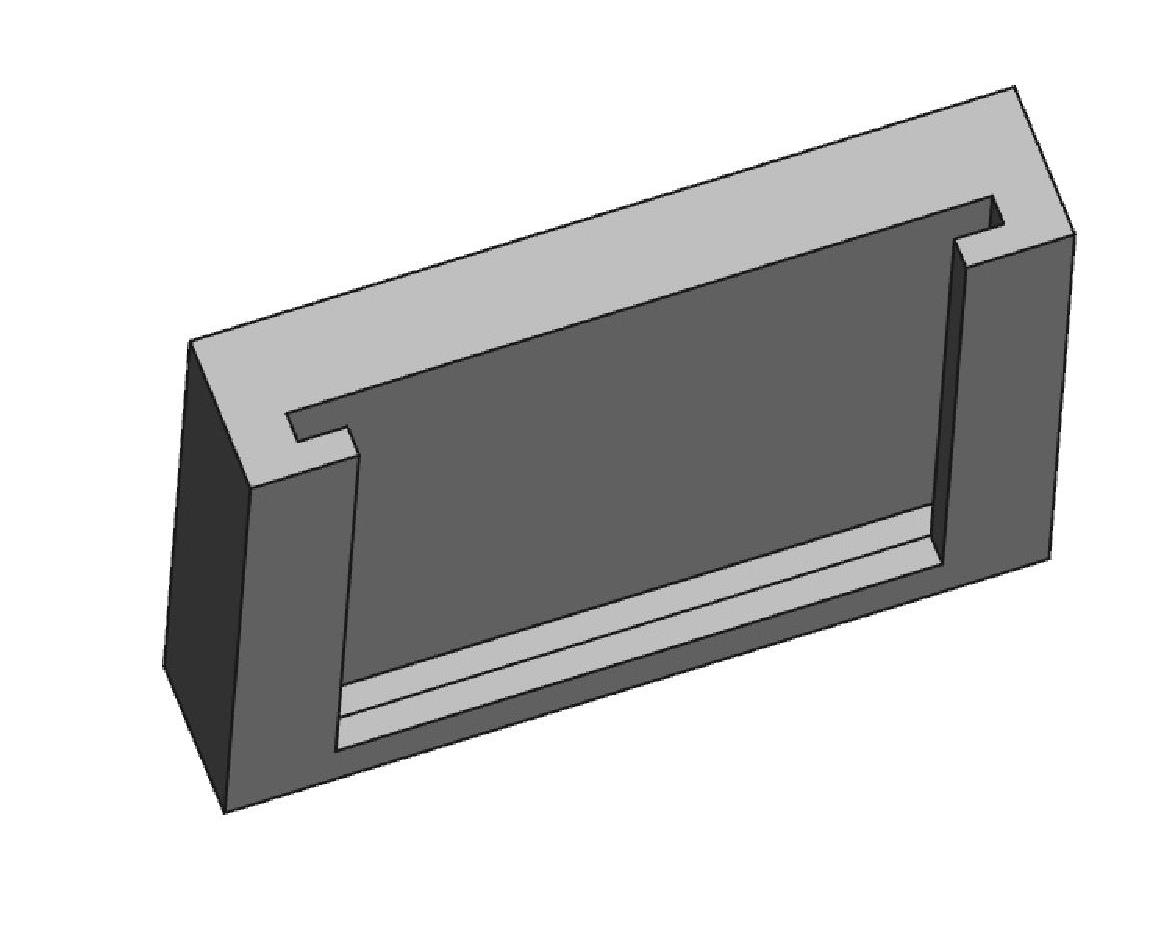
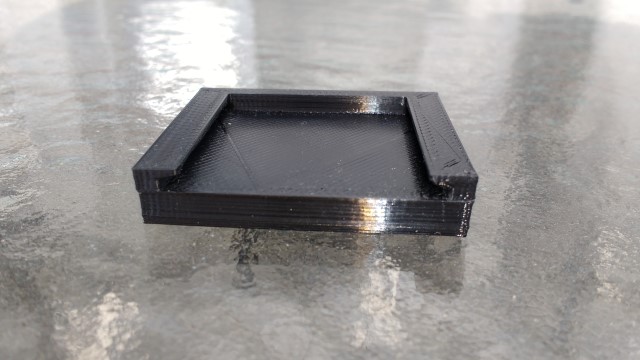
I discovered with my first design that the 3D printer has some trouble printing flat surfaces over a void. Although it can do it, a 90° corner is not perfectly square. This image is of my first attempt at making the part that mates with the shoe.