Page 3 of 4
The loose tolerances on the shoe and the thin load-bearing parts of the repair adapter made me rethink the whole design. I originally did not consider making a better shoe because of the challenge I would have in making sure that the hole locations matched the as-built holes, with larger center mounting hole originally positioned by eyeball. Since I could easily reprint the shoe if my measurements were off, I decided that this was the way to go. This allowed me to make the shoe thicker with 45° walls. I added 2 mm of clearance between the shoe and the adapter body to account for corner tolerance.
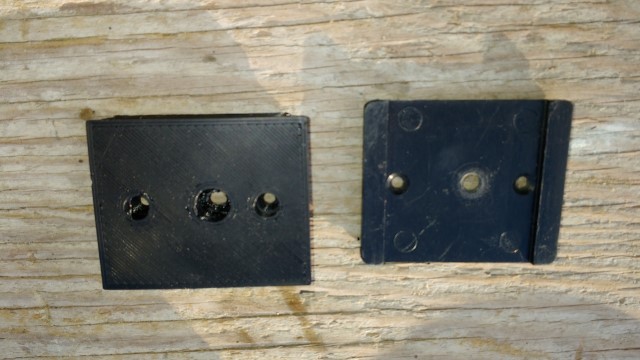
This image is the new shoe design. Notice that the holes have some residual plastic webbing and I had to use drill bit to ream them clean.